Need help?
How to use an ice cream maker
Ice Cream Machine Tips & Recipes
Sure, ice cream is great. But how about homemade ice cream?
Letting you customise and invent your own favourite flavours, making your own ice cream opens up a whole new world of opportunity. Far quicker and easier than you might think, an ice cream maker does all the work for you with no need to make your arm ache from all that churning.
If you’re an avid ice cream enthusiast, owning an ice cream machine is a no-brainer; allowing you to create delicious homemade ice cream for less than shop-bought products.
Making your own ice cream is also an exciting activity to do with friends and the kids, allowing you to take joy in the process and pride in the result.

Read on for our essential guide to ice cream makers, with a few delicious recipes included…
#1 How do ice cream makers work?
Ice cream makers use a paddle to churn and thicken the pre-made mixture, before freezing it to make homemade ice cream!
There are two types: a self-freezing ice cream maker that includes a compressor, and one without that requires the ice cream to be frozen afterwards.
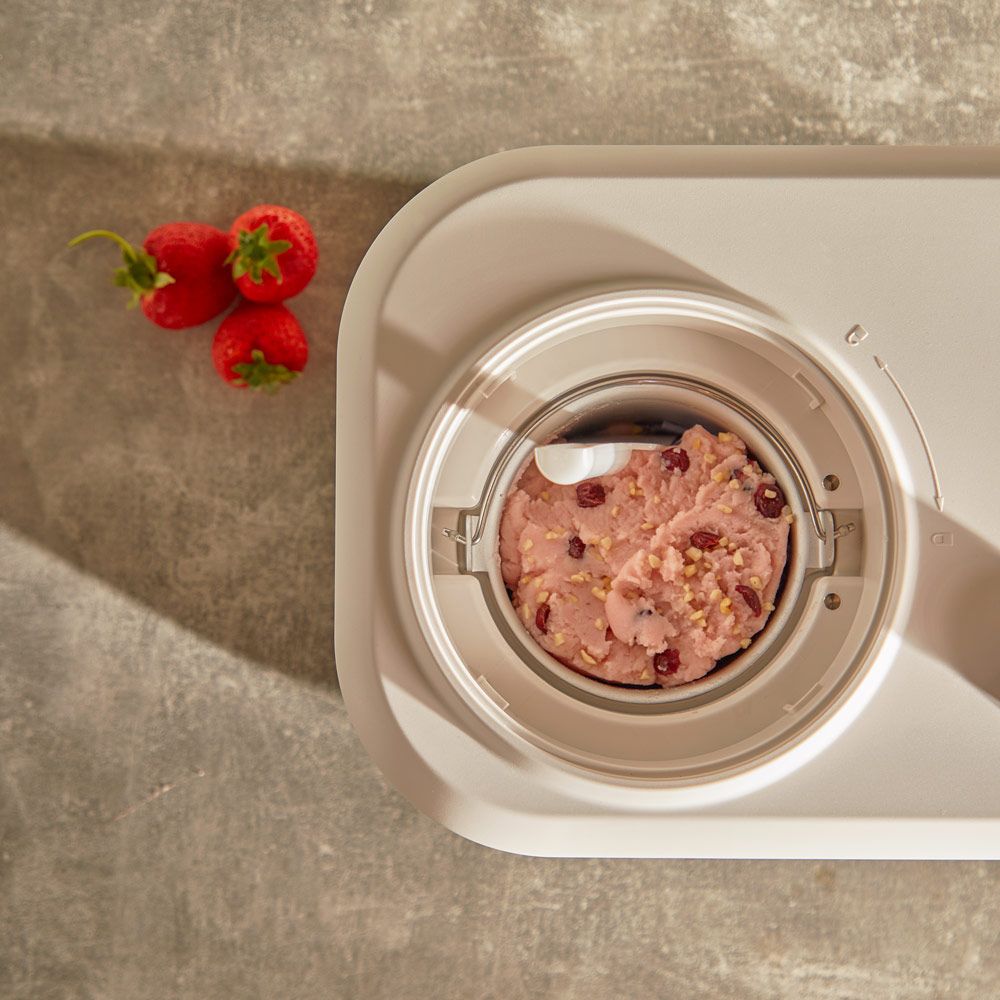
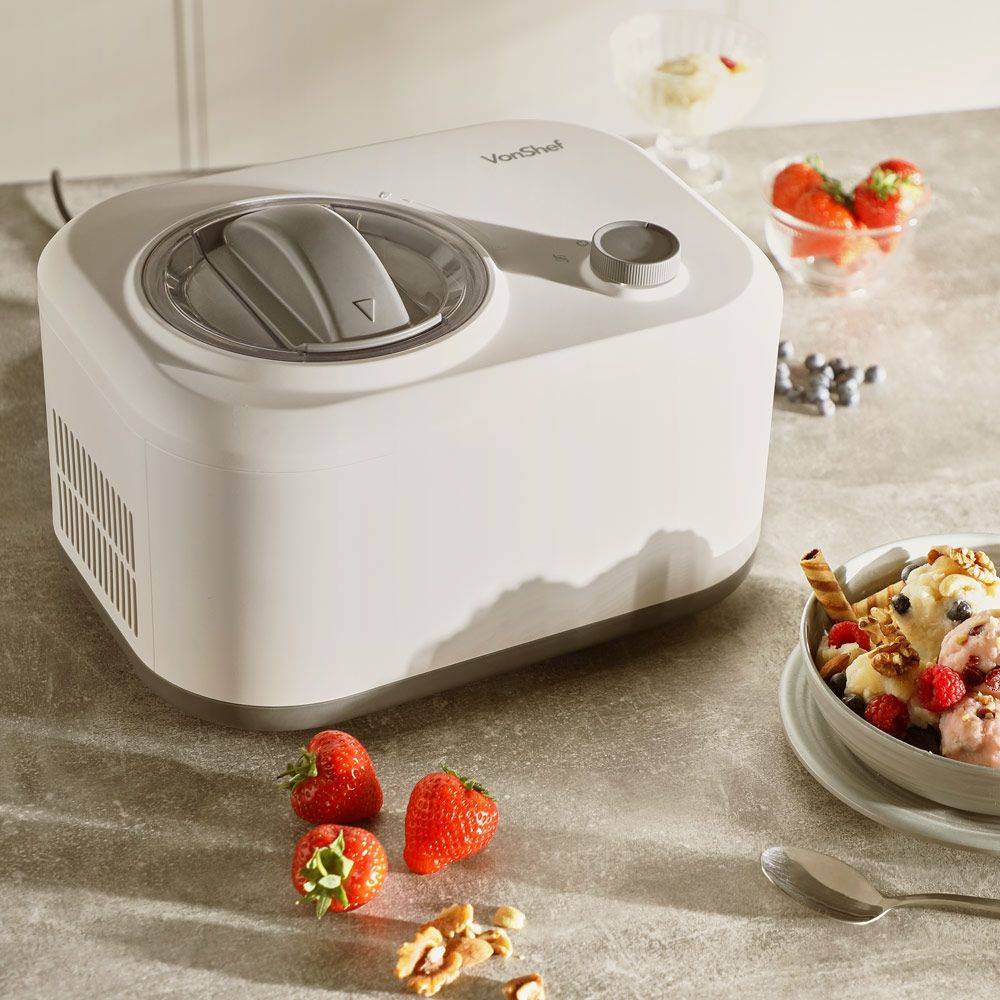
Many different styles of ice cream makers exist, but ours are simple, with 4 pieces: an internal bowl, container, lid, and paddle. Just add the mixture into the removable inner bowl, place the lid on, use the intuitive controls to start the churning process and remove once done to serve.
#2 How much do ice cream makers cost?
Prices range from around £35 to over £300 for compact home ice cream makers depending on size and power – this stretches to above £10000 for commercial-grade machines!
#3 How to use an ice cream maker
It really couldn’t be easier. With a traditional ice cream maker machine, you simply pour your chilled ice cream mixture into the machine’s pre-frozen container and press go.
The machine will do all the mixing and churning for you, turning your cream mixture into soft-serve ice cream.
Then, let it set in the freezer overnight for the perfect scoop.
#4 How to use an ice cream maker with a compressor
If you have an ice cream maker with a compressor, there are recipes where you can skip the freezing process. The machine’s smart technology does all the chilling for you, having the container already pre-frozen when you add your mixture and then freezing and setting your ice cream when it’s done, making it ideal for dinner parties or entertaining.

#5 How to make homemade ice cream: Our ice cream maker recipes
Here is our foolproof recipe for making the best homemade classic vanilla ice cream in your ice cream maker:
Classic Vanilla Ice Cream

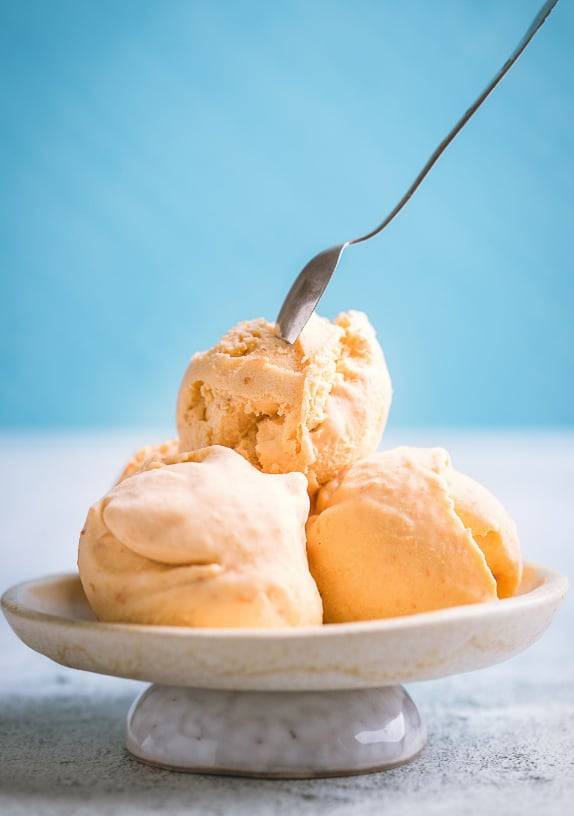
It's the simple pleasures... Here's how to make the world's most versatile and universally loved ice cream flavour.
- 284ml double cream
- 300ml milk
- 115g caster sugar
- 1 vanilla pod
- 3 egg yolks
Serves 4-6
- Prep in advance. If you’re using a classic ice cream maker, place your cannister into the freezer to pre-freeze the day before ready for your mixture. If you machine has a compressor, you can skip that step.
- Add the cream and milk to a sauce pan with half the sugar. Slice your vanilla pod and add as many seeds as you can scrape out to get a nice rich flavour. Then cut the pod into a couple of chunky pieces and throw them in.
- Slowly heat the mixture until it comes close to a boil. You want to see bubbles around the outside but not fully boiling all over. Then take it off the heat and let it sit for around half an hour so it can cool and the vanilla can fully infuse.
- While that’s sitting, add the egg yolks and the rest of the sugar to a bowl and whisk until think and smooth. Add about 125ml off the original cream mixture to the egg mixture to slacken them.
- Once the half an hour is up, repeat the heating step by lightly boiling the cream mixture again before taking off the heat and slowly combining with the egg mixture.
- Return it all to the heat and warm slowly, stirring continuously for about 10 minutes so you have a nice and creamy mixture that’s fully combined. Don’t let it boil and take it off the heat as soon as you see bubbles forming.
- Now let the mixture fully cool and chill, you can even place the pan or bowl into a bucket of ice to speed the process along, before adding it into your machine’s cannister.
- Leave the machine to run for 30 minutes or so before place the cannister into the freezer for your ice cream to fully set for a minimum of 3 hours or so.
- Once it's all frozen and set, scoop and enjoy.
#6 Top tips for making homemade ice cream
- Ditch the diet – Always use full-fat milk and cream. Not only will this add more flavour, but will ensure you get that rich, thick ice cream texture.
- Don’t skip the pre-freezing – It’s tempting to skip pre-freezing your canister, especially if you’re in a rush. But the step is vital for ensuring your mixture stays fully chilled while it’s being churned to get the right texture in the end.
- Consider consistency – When you’re experimenting with your own flavours, be mindful of consistency. Don’t add too many extra liquids or sauces to avoid it being too thin.
- Patience is key – It’s hard to resist trying your ice cream immediately but try to leave it for at least 3 hours to fully rest and set in the freezer. This will let you get the perfect scoop.
#7 Can you make anything else in an ice cream maker?
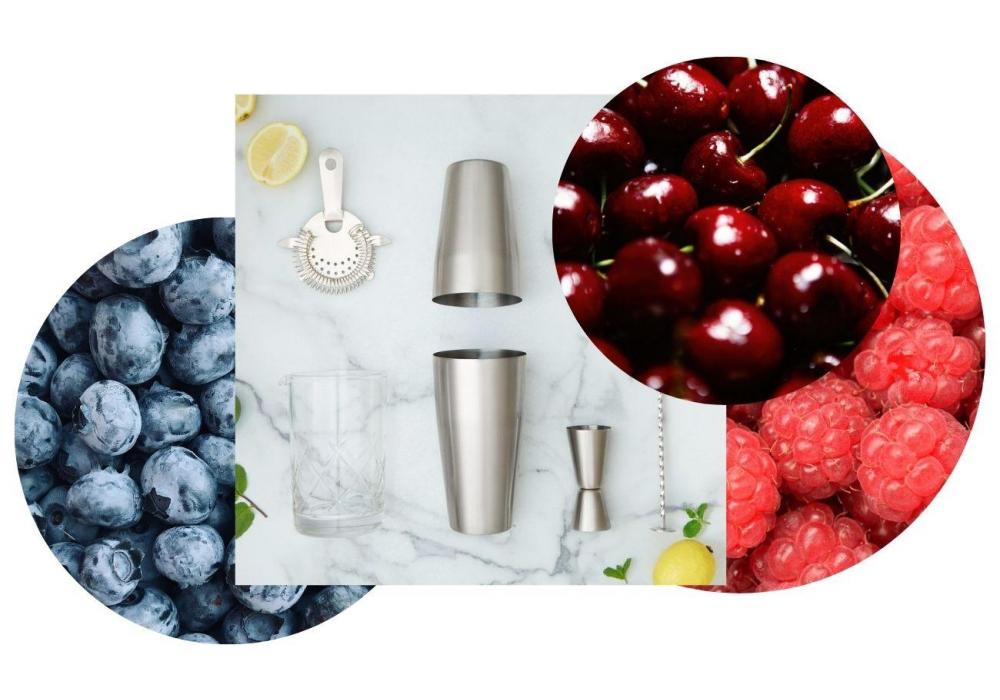
The range of desserts you can make in an ice cream maker will astound you. Not only will it make the creamiest ice cream you’ve ever had, but you can also make your own homemade sorbet and gelatos by adapting the recipes.
You can even make slushies and frozen smoothies or cocktails to stay cool in summer. How about a lemon sorbet? Or a cola slushie? Or even a frozen margarita? While the name might suggest a one-hit-wonder, an ice cream maker is one of the most versatile and easily re-purposed appliances you can add to your kitchen.
Italian Lemon Sorbet
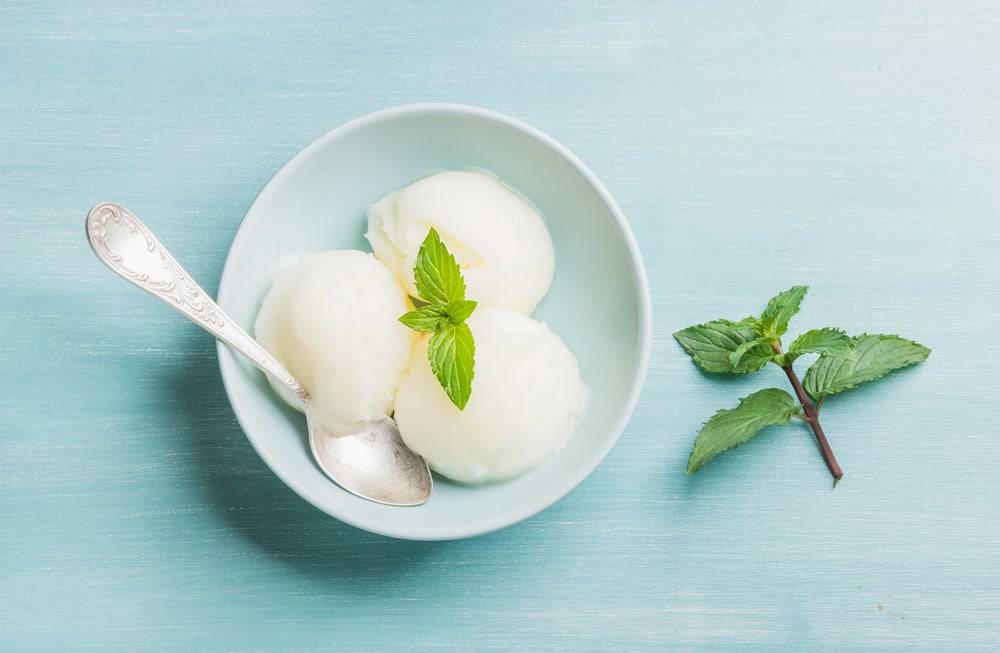

A classic iced treat, lemon sorbet never fails to refresh and impress
- 230ml water
- 12 tablespoons granulated sugar
- 4 lemons
Serves 4-6 people
- Peel the lemon down to the white pith, make sure to keep the zest
- Cut in half and squeeze the juice into a blender jug– a juice extractor can also be used to speed up this process
- Place the lemon zest, water, and sugar into a saucepan, cook over low heat, constantly stirring until the sugar has dissolved – this is your syrup mixture
- Turn off the heat and let the pan cool
- Strain the syrup with a colander, and pour into the blender that contains the lemon juice, making sure to remove the zest
- Once blended, pour the mixture into your ice cream maker and allow it to churn for around 40 minutes – your sorbet is now ready – serve in a bowl or on a waffle cone
- If you are using an ice cream maker without compressor then place into the freezer for 4 hours, and your sorbet will be ready
Chocolate Gelato
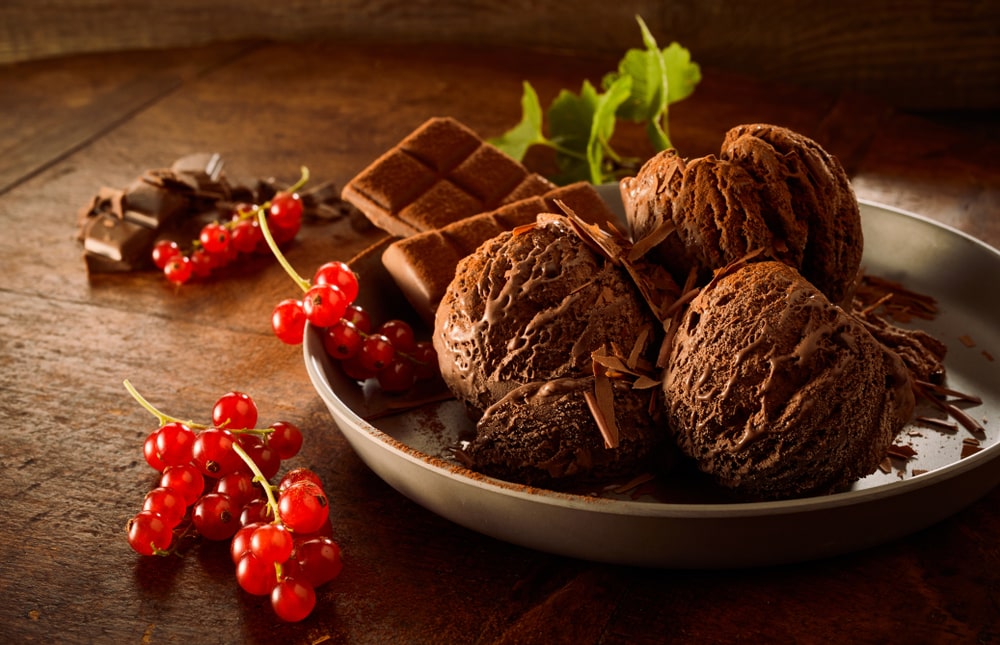

Commonly confused with ice cream, gelato is made with milk instead of cream for a velvety texture that has to be tasted to truly appreciate its unique, richer taste.
Gelato is usually served at -2 to -6°C for maximum creaminess and flavour, as opposed to ice cream which is typically served at -16°C.
- 3 medium egg yolks
- 150g granulated sugar
- 250ml whole milk
- 250ml heavy cream
- 50g bitter cocoa powder
- 100g 70% dark chocolate
Serves: 6-8 people
- Mix the cocoa powder and 75g of the sugar in a bowl
- Pour into a saucepan and add the cold milk
- Whisk and turn on very low heat, continuing to stir - make sure to not allow the milk to boil
- Break up the chocolate and add to the pan, stirring still and allowing the chocolate to melt without the mixture boiling
- Add the remaining sugar to a mixing bowl with the 3 egg yolks and whip until soft and fluffy
- Pour the mixture into your ice cream maker and mix for 40 minutes or until the gelato is icy and thick, whilst also being easily scoopable
- If you are using an ice cream maker without compressor then cool in the refrigerator for half an hour, and transfer to the freezer for 5 hours, making sure to remove every 30 minutes and mix for 30 seconds to break up the frozen surface
To serve, leave the gelato out at room temperature for 20 mins for the best temperature for texture and scooping
Sour Cherry Frozen Yoghurt
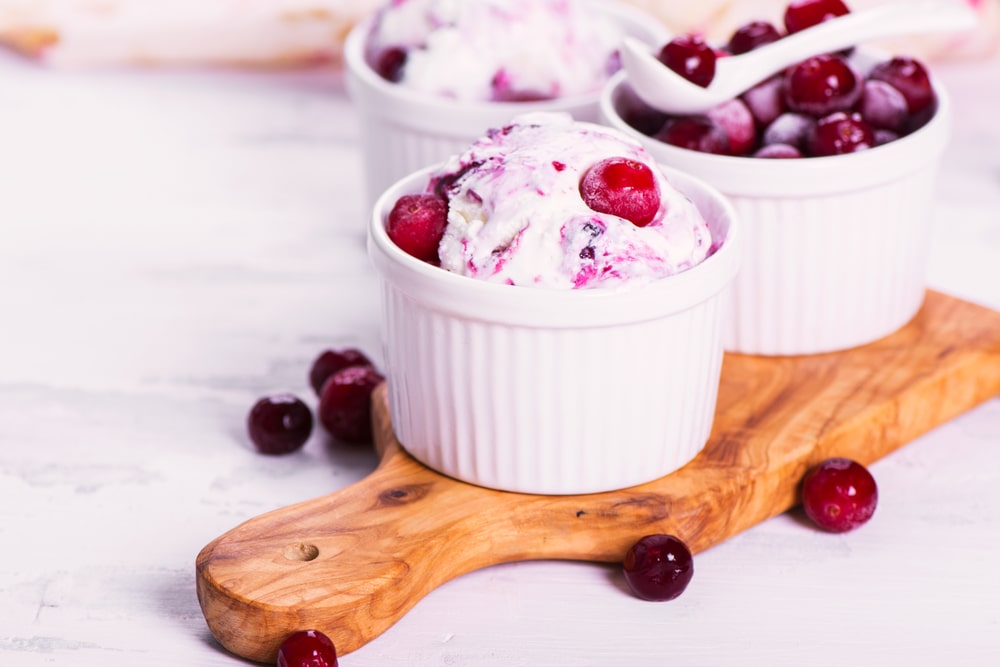

This recipe takes a little bit of extra preparation, but trust us, it's worth it!
Frozen yoghurt:
- 2 tablespoons corn syrup
- 1 teaspoon salt
- 1 1/2 teaspoon vanilla extract
- 330ml whole milk
- 85g granulated sugar
- 1000g whole fat Greek yoghurt
- 177ml heavy cream
- 2 tablespoons corn syrup
Sour cherry jam:
- 224g cherries
- 128g granulated sugar
- 4 tablespoons lemon juice
- 50g bitter cocoa powder
Serves 6- 8 people
Sour cherry jam:
- Combine the cherries, lemon juice, and sugar in a saucepan
- Bring to a boil whilst stirring over a medium-high heat
- Once boiling, set the heat to medium and continue boiling for 12-14 minutes until the mix has slightly thickened
- Remove from the heat and allow to cool
Frozen yoghurt
- Remove 2 tablespoons of the heavy cream and set aside, then add the rest of the heavy cream, corn syrup, sugar, and salt to a saucepan and whisk
- Bring the saucepan to a medium heat
- Whilst heating, pour the cornflour and 2 tablespoons of milk into a jug/ bowl and whisk until smooth
- As the saucepan mix reaches a low boil, whisk to ensure the sugar dissolves and then allow to boil for 2 minutes
- Remove from the heat and whisk together with the cornflour mixture
- Return the saucepan to the heat, then whisk until the mix is bubbling throughout
- Take the pan off the heat and stir in your Greek yoghurt and vanilla extract
- Leave to cool for 20 minutes and transfer into an airtight container
- Let this mixture chill in the fridge for 6 hours
- Add to your ice cream maker and churn for 40 minutes
- Transfer into a container, adding the sour cherry jam, and freeze for 4-6 hours
- If using an ice cream maker without compressor, freeze for an additional hour or until frozen
#8 How long does it take to make homemade ice cream?
Churning and mixing takes anywhere from 20 minutes to an hour depending on the recipe. But with a classic ice cream maker, the freezing process means you need to plan ahead of time and freeze your container for a couple of hours before and after, whereas a machine with a compressor is a lot quicker. With the mixture cooking as well, the whole process takes a couple of hours but will give you results far superior to any shop-bought scoop.

#9 Can You Make Vegan Ice Cream In An Ice Cream Maker?
Yes! Substitute the milk and cream for full-fat coconut milk to make the same rich, indulgent result for a plant-based diet.
Homemade Vegan Coconut Ice Cream

Who said vegan food is boring? Not us.
- 3 (13.5-oz.) cans of full fat coconut milk
- 3/4 cup of granulated sugar
- 1/3 cup of brown sugar
- 1 teaspoon of salt
- 1 vanilla pod
- 2 tablespoons of cornstarch
- 2 teaspoons of pure vanilla extract
- Remember to pre-freeze your canister
- Follow the same instructions as the classic vanilla, combining the coconut milk, sugar and vanilla pod in a pan and bringing to a light boil.
- Add the cornstarch to a bowl with a cup of the boiling milk mixture. Whisk until its dissolved to make a substitute egg mixture then add it to the saucepan with the rest of the coconut mixture.
- Reduce the heat and let the mixture simmer for a few minutes until its nice and thick, then whisk in the vanilla extract.
- Place the mixture into a bowl and allow to cool and chill before adding to your machine and churning.
- Let it freeze then enjoy.
If you've made it to this point, you're a certified ice cream machine expert!
If you enjoyed then feel free to leave a comment, or if you'd like to share your ice cream secrets with us, then please let us know below...
For more tips, tricks, and guides, head on over to the VonHaus Blog to stay in the know.