


 Need help?
How to Sharpen Hedge Trimmer Blades
Ever tried trimming your hedges with dull blades? It's like trying to cut a steak with a butter knife—frustrating and inefficient. But keeping your hedge trimmer blades sharp is the secret to unveiling a flawless garden.
Whether you’re sculpting your hedges into neat lines or tackling those unruly bushes, sharp blades make all the difference.
In this guide, we'll explain how to sharpen your hedge trimmer blades so you can get back to what you love—cultivating your dream garden!
But if all his lost, why not treat yourself to a shiny new VonHaus hedge trimmer? Either way, bookmark this blog to sharpen your blades when the time comes.
Without further ado, let's dive in!
Why Sharp Blades Matter
Sharp hedge trimmer blades are crucial for a few reasons:
Clean Cuts: Dull blades tear through branches rather than cutting them cleanly, which can damage your plants and slow down the trimming process.
Efficiency: Sharp blades require less effort, allowing your trimmer to cut through thick branches quickly and smoothly.
Prolonged Tool Life: Regular sharpening reduces the wear and tear on your trimmer’s motor or engine, helping to extend its lifespan.
Step-by-Step Guide to Sharpening Hedge Trimmer Blades
1. Safety First
Before you begin, make sure your hedge trimmer is turned off and unplugged. For gas-powered models, disconnect the spark plug to avoid accidental starts. This may seem obvious, but you’d be surprised by how many people forget this step!
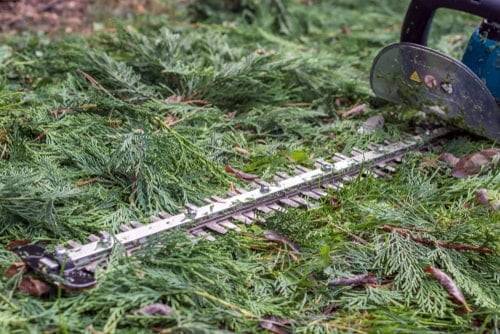
2. Clean the Blades
Use a soft brush to remove any dirt, sap, or debris from the blades. If the blades are particularly dirty, wipe them down with a damp cloth. Clean blades make the sharpening process more effective and prevent your file or sharpening stone from clogging up.
3. Secure the Hedge Trimmer
If possible, secure your hedge trimmer in a clamp or vice. This will keep it stable while you work, making the sharpening process easier and safer.
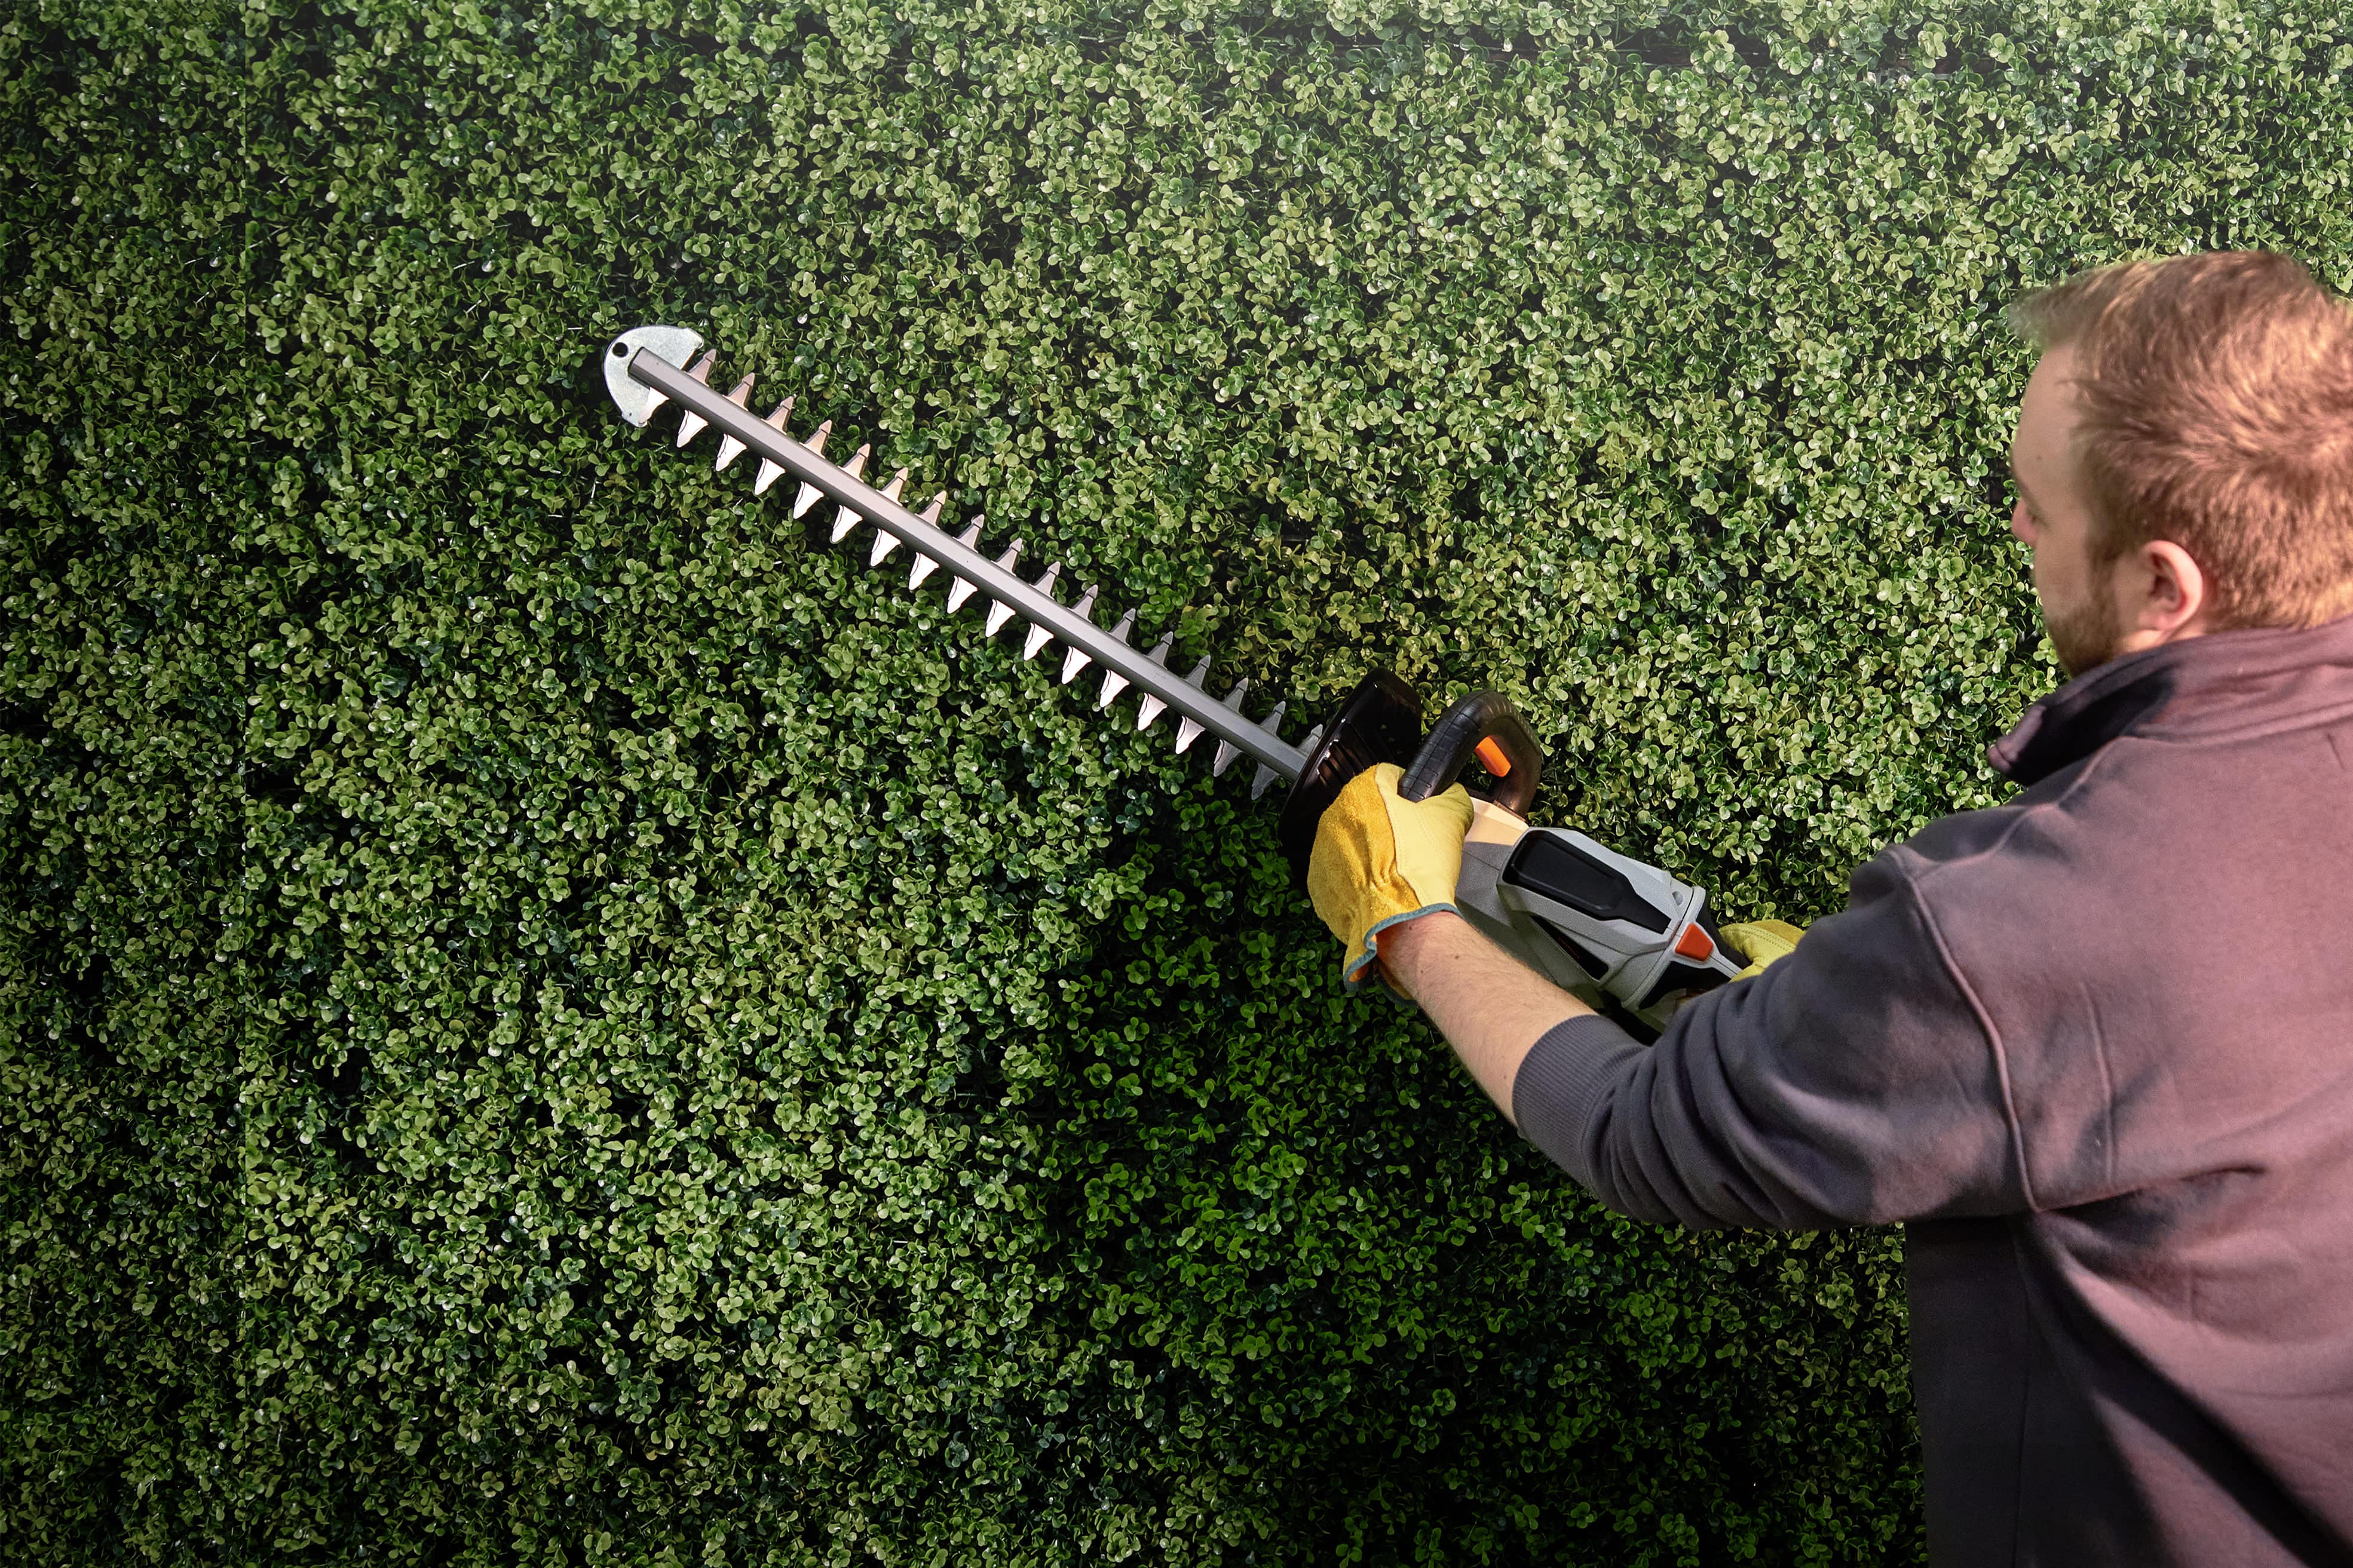
4. Identify the Cutting Edges
Inspect the blades and locate the cutting edges. Hedge trimmer blades typically have two cutting edges that need sharpening. Note the angle of the edges, as you’ll want to maintain this angle while sharpening.
5. Sharpen with a Flat File
Using a flat file, follow the natural angle of the blade’s edge, filing in a single direction—away from your body. Apply even pressure and make sure to cover the entire length of the cutting edge. Count your strokes and apply the same number to each tooth to ensure uniform sharpening.
6. Check Your Progress
After a few strokes, inspect the edge of the blade. It should start to look shiny and smooth, with no nicks or burrs. If necessary, continue filing until the blade is sharp along the entire edge.
7. Repeat on the Other Blade
Once you’ve sharpened one side, flip the trimmer and repeat the process on the other blade, ensuring both cutting edges are equally sharp.
8. Clean and Lubricate
After sharpening, wipe down the blades with a damp cloth to remove any metal filings. Then, apply a light coat of lubricant or WD-40 to protect the blades from rust and ensure they move smoothly against each other during operation.
9. Reassemble and Test
If you disassembled any parts to sharpen your blades, reassemble your trimmer carefully. Once everything is back in place, test the trimmer on a small section of your hedge to ensure it cuts cleanly and efficiently.
Tips for Maintaining Sharp Hedge Trimmer Blades
Regular Maintenance: Clean your blades after every use to prevent sap and debris build-up, which can dull the blades faster.
Avoid Cutting Thick Branches: Hedge trimmers are designed for smaller branches. For thicker branches, use a pruning saw to avoid damaging the blades.
Sharpen Periodically: Depending on usage, aim to sharpen your blades once or twice a season. If you’re a keen hedge sculpture, you may need to sharpen the blades more often.
When to Replace Your Hedge Trimmer Blades
Even with regular sharpening and diligent maintenance, hedge trimmer blades have a finite lifespan. Here’s how to tell when it’s time for a new set:
Visible Damage: Inspect your blades regularly for signs of wear and tear. Deep nicks, cracks, or chips in the blades are indicators that they’ve reached the end of their life. Damaged blades can not only make your trimming efforts less effective but also pose safety risks.
Uneven or Ragged Cuts: If your hedge trimmer is no longer producing clean, even cuts, or if it’s leaving behind frayed or torn branches, the blades may have dulled beyond repair. This can harm your plants, leading to diseases or slower growth.
Blade Alignment Issues: Over time, blades may become misaligned or warped, which negates their performance. If you find that your blades no longer meet evenly or are out of sync, this could be a sign of structural damage that sharpening alone can’t fix.
Increased Effort or Vibration: If your trimmer is vibrating excessively or you notice that it takes more effort to achieve the same results, the blades could be past their prime. Dull blades force the motor to work harder, which can lead to faster wear on the trimmer itself.
Sharpening Frequency: If you find yourself needing to sharpen the blades more frequently, it’s a clear sign that the metal is thinning and losing its edge retention. At this point, replacement is often more cost-effective and safer than continual sharpening.
When these signs start to appear, it’s time to consider replacing your hedge trimmer blades to maintain optimal performance and safety. Regularly replacing old blades with new ones ensures that your hedge trimmer stays in top condition, giving you precise cuts and a healthier garden.
Final Thoughts
A sharp hedge trimmer isn’t just a nice-to-have; it’s a game-changer. By taking the time to sharpen your blades, you’re investing in smoother cuts, a longer-lasting tool, and a more enjoyable gardening experience.
So, next time your trimmer starts to lag, don’t struggle—sharpen up and make those hedges turn heads for all the right reasons.
Ready to take your garden to the next level? Check out our hedge trimmers and accessories to keep your outdoor space looking picture perfect all year round.