Need help?
How to Level a Sloped Garden

Wondering what to do with a sloping garden? Don’t see your plot as a burden; view it as an opportunity to transform your space into something unique! You may have to wave goodbye to your dreams of endless acres of sprawling land, but you'll create a charming sloped garden with bags of character.
Okay, we'll level with you, – it’s not a five-minute job. But trust us, the results will be worth it! So keep reading for sloped garden inspiration that won’t break the bank (or your back). Let’s get to the DIY first, before delving into our favourite design ideas.
How to level a sloped garden
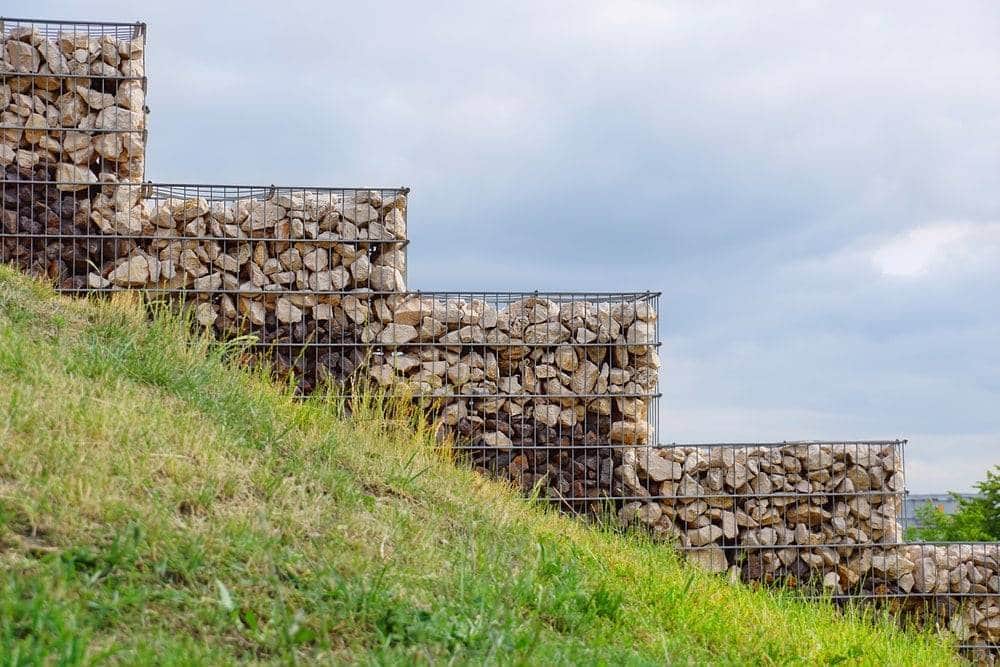
First things first. If you want to create levels, railway sleepers are the way to go. Inexpensive, hardwearing, and charming – what’s not to love? To get the boring (but important!) preamble out of the way, it’s essential you check with the council whether you need planning permission. Chances are you won’t, but better safe than sorry, right? Also check with your utility company that there are no cables running under your garden.
Now that that’s all sorted, here's how to lay sleepers on a sloped garden:
Tools required:
- 2 x tall stakes
- String
- Spirit level
- Shovel
- Soil compactor
- Sleepers
Instructions
1. Measure the rise and run
Place one stake at the bottom of your slope, and one at the top. Tie your string to the stakes so that it meets each stake at 90°. Use a spirit level to check, double-check, and triple-check (!) that it's level. You now have your rise (height of the bottom stake) and run (length of the string). Now it’s time to cast your mind back to your high school maths class and calculate the volume of space behind the wall that you’ll fill with soil. You can use these simple equations:
|
Rise x run = area Area x length of retaining wall = volume |
2. Water the ground you'll be digging
This will make the soil easier to work with when it comes to digging up the ground for your sleepers. Do this 24 hours in advance if possible.
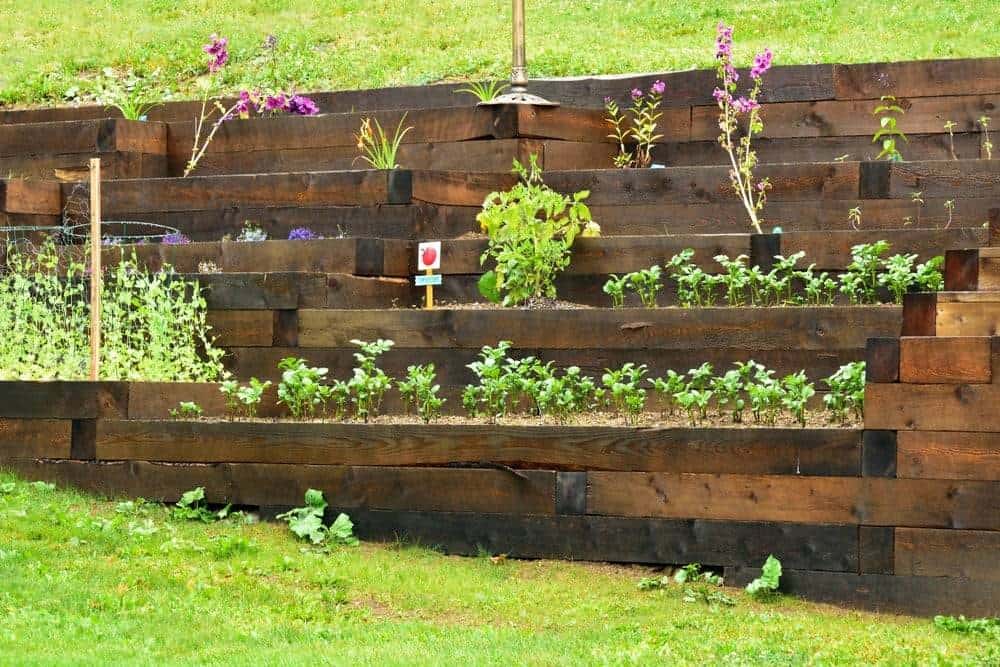
3. Build your retaining wall
Now for the big’un – constructing the wall. First up, dig a trench in your (freshly moist) soil at least 1/8th as deep as the wall, to provide a solid foundation to withstand weather conditions. Now to begin construction – and take your time with this. Lay each row of sleepers one at a time, using your spirit level after each section. If your retaining wall looks to be going over the meter mark, you’ll need to create a second tier; the pressure of the soil behind poses too much of a risk for a wall any taller.
4. Load and level the soil
Just keep piling it up! Once the area fills up, it’s back to the good old spirit level. Another way to double-check the evenness is by reinserting the stakes and string from earlier. If the soil lines up with the string, you’ve hit the jackpot.
5. Compact the soil
Once you’re happy that the soil is even, run your soil compactor over it a few times. You’ll thank us for this future-proofing hack later, when the heavy rain doesn’t create any lumps, bumps, or erosion.
6. The choice is now yours!
Whether you want a flower bed, green grass, or wooden decking – the world (or your garden) is your oyster. Keep reading for our top tiered garden tips.
How to fence a sloped garden
Installing fences in a sloped garden isn’t all that different to installing fences on flat ground – which is extremely rare, as no natural garden is perfectly flat. So, you’re not alone! Just don’t be tempted to follow the gradient of the ground, or you’ll end up with awkward-looking fencing.
Instead, keep each fence level and you’ll reap the rewards when you’re finished. Remember to use gravel boards to hide the gaps underneath the fence panels. These will protect your fence from warping, and more importantly – keep your furry friends from escaping, and pesky rodents from entering!
How to terrace a sloping garden
Now you’ve got your tiers, it’s time to get creative! Channel your inner Nick Knowles – it’s DIY SOS time folks. Here are just a few of our favourite ideas, but let us know any other ideas you come up with in the comments!
Split it up
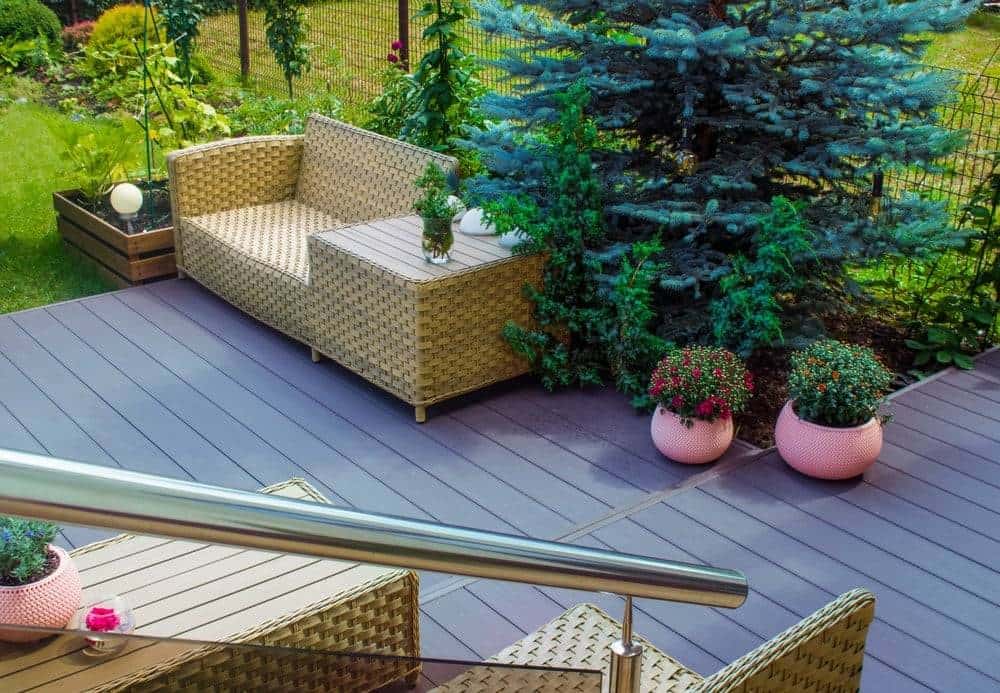
Make your new garden space interesting by dividing up the tiers into sections. For family homes, why not create a sun-lounging haven on the top tier, a dining area on the middle tier, and a play area for the little ones on the ground? Or step up the luxury and separate areas for a garden bar, a hot tub, and an irresistibly comfy sofa set. Once you’ve got your levels, it’s all about playing around with them to suit your lifestyle.
Create a sunken sofa pit

While raised decking at the top of the garden features in some people’s dream gardens, we know some prefer a more private hub. Introducing: the conversation pit. As charming as they are intimate, they make the perfect cosy space for catching up with loved ones. Utilise your lowest retaining wall along with a side wall, and you’ve got the perfect corner for getting snug. Throw on a few cushions and you’ll be chatting for hours.
Go country style

If you’re not a fan of sectioning, stick with us! Although we’re advocates for wooden sleepers' rustic charm, you might prefer to keep yours covered. A simple but gorgeous way to do this is with flowers – create a whimsical, wild array of flora. Choose a colourful selection of upward-growing flowers and trailing plants, using your DIY retaining wall as a support.
Bridge the gap between each tier
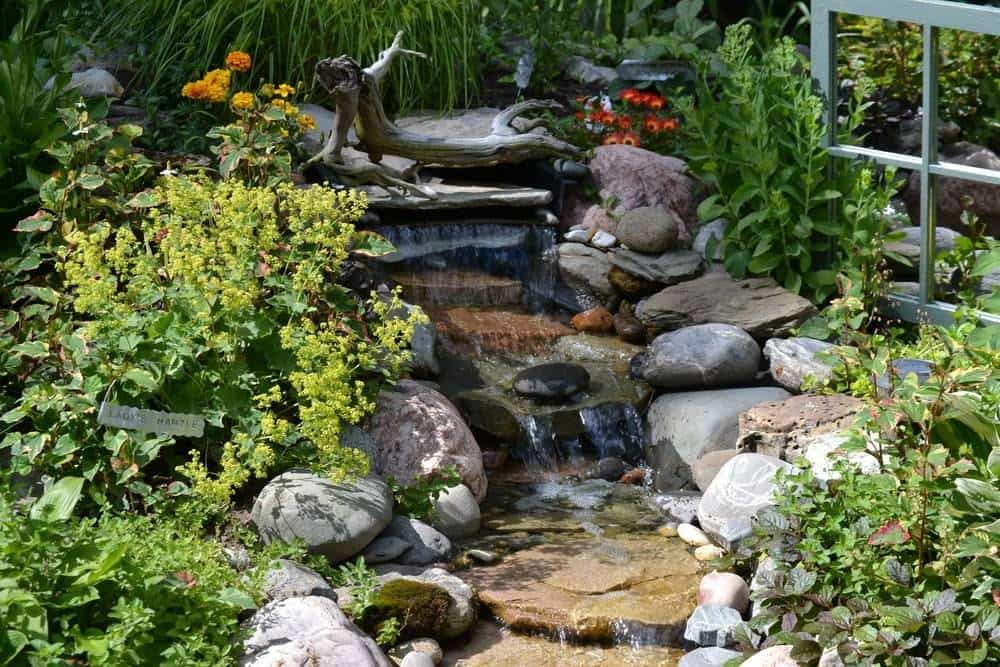
Create a sense of unity between your new garden tiers. It’s pretty much universally agreed that nothing beats the sound of trickling water, right? So introduce a cascading water feature into your garden to level up your downtime.
Keep it sloped
All sound like a bit too much faff for you? We won't judge, and lucky for you there are alternatives that are just as intriguing to the eye. Adopting the same instructions for levelling a sloped garden (but working with a much smaller area), why not create a central stairway? As for the decoration, landscape designer and broadcaster Mark Lane hits the nail on the head:
If a slope is not seen as a problem, then many plants can be grown on an angle, while at the same time stabilising the soil.
Leave the surrounding sides sloped for a low-effort, endearing alternative. Plant a selection of vertical-growing plants (e.g., foxglove) on each side, and you’ve got yourself a natural statement feature! Dot a few lights in between the steps to keep things safe and aesthetically glowing.
See, a sloped garden isn’t such a burden after all! We hope we’ve converted you to the pro-sloping-garden club – all it takes is a little creativity, and you can craft the garden of your dreams! Hopefully your brain is brimming with landscaping ideas, so we won’t keep you any longer. Head over to our blog for more garden and home inspo.